Okay, first:
Christmas Wreath
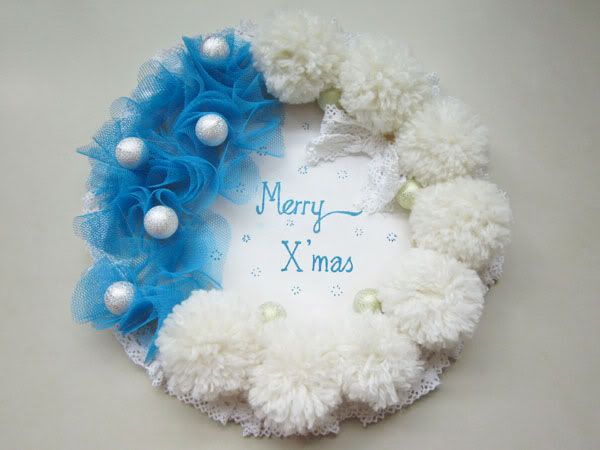
I used this thin round wood panel which I got from Arts Friend as the base. I first painted the middle of the panel with white acrylic paint and let dry. (After hanging it up on the door, I felt that staining the wood panel with a shade similar to my wooden door would have looked better...)
Then, I got some blue tulle and following this youtube tutorial on Threadbanger, created some swirly/floral effects on a portion of the circumference of the wood panel. I made a bunch of white pom poms and filled up the rest of the circumference. After which, I glued on some silver and gold baubles over the blue tulle and in between the white pom poms. To cover any unsightly empty areas, I gathered and glued lace around the edge of the wood panel.
I then free-handed the Christmas Greeting and glued a piece of lace ribbon to fill up the center white area (which would have looked better with just stained wood paint)
And next:
Fun doorway decor
White poms poms again and blue tissue flower balls. I got this pre-cut and pre-folded tissue flower balls kit from our 2-dollar store (Daiso). The kit comes with 10 balls but I made only 6. If you can't find pre-cut/pre-folded ones, you can make them yourself by following this youtube tutorial. The ones I have are smaller than the ones shown in the tutorial but you can easily make the size you want by altering the size of the paper and the size of the folds. A very simple project that you can make with the young ones!
Wednesday, December 21, 2011
Subscribe to:
Post Comments
(
Atom
)


No comments :
Post a Comment