Here's a really quick and simple tutorial to dress up your mobile devices. I'm not really using a mobile phone for this tutorial but this technique can easily be tweaked for whichever gadgets you fancy!
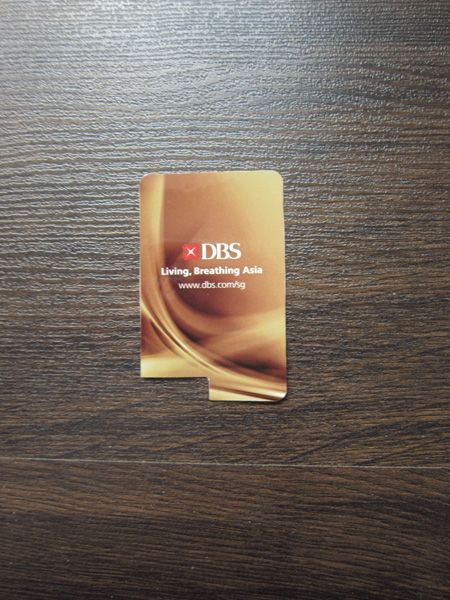
Eh-hem.. I know.. This doesn't look like any known mobile phones.. And well, it isn't. Anyone who uses DBS/POSB i-banking will be familiar with this new token device. I was quite appalled by the size and (cough) ugliness when I received it in my mailbox. And frankly speaking, I don't think anyone would want to use the stickers provided by the bank.
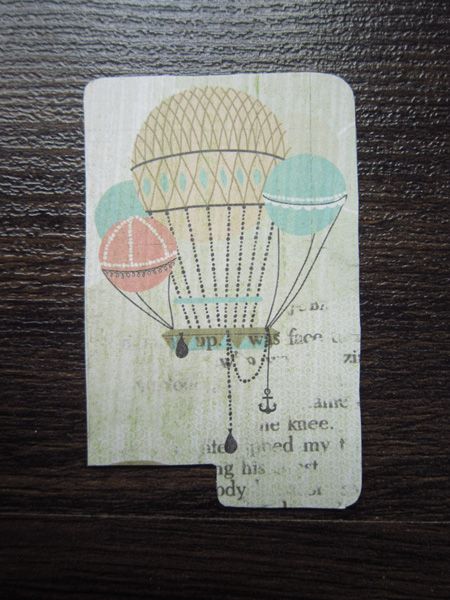
Anyways, I'm now loving my token with that sweet illustration of the steampunk-ish hot air balloon. (Too bad I can't do anything much about the front of the device =| )
Materials and Tools:
Love my scrapbooking paper?
- Your favorite scrapbooking paper or any paper you fancy
- Scratch cardstock or cardboard
- Any kind of sticker sheet. I'm using Sticki Sheets by Bostik which has a pretty strong adhesive.
- Cellotape or self-laminating film (try to get the thin kind) that is big enough to cover the shape of the sticker you are going to create
- Scissors
Directions
1) Draw out a template of the sticker shape that you are going to create onto the scratch cardstock / cardboard. For mine, I pasted one of the stickers onto a cardstock. Cut out the template.
2) Place the template over the desired area of your scrapbooking paper (or any paper that you fancy) and trace over the shape. Cut the shape out.
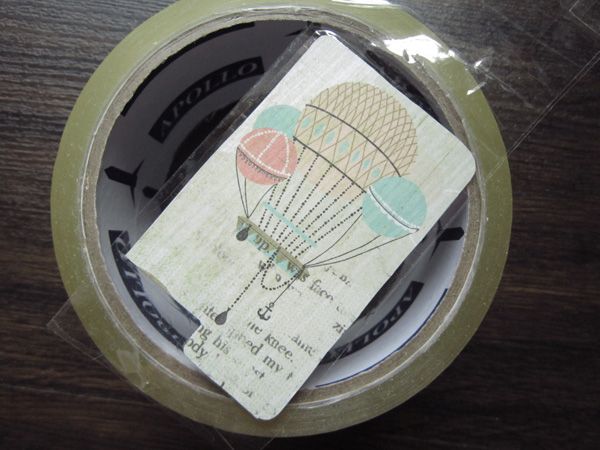
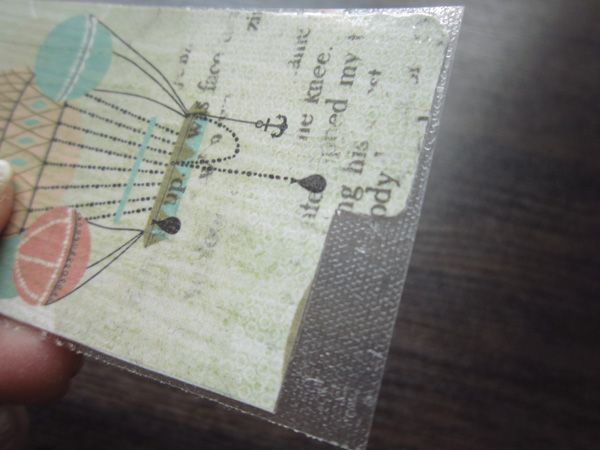
3) Laminate the cut paper using cellotape or the self-laminating film. If you're using cellotape like me, cut out a length of cellotape that is more than twice the height of your paper. Paste the paper on one end of the tape, then fold the tape such that it encases the paper inside like so.
4) Trim away the excess cellotape or laminating film.
5) Get ready your sticker sheet. If you are using Sticki Sheet from Bostik, cut the sticker sheet to size to minimize wastage.
6) Follow the manufacturer's instructions to make your sticker. For Sticki Sheet users, you simply peel off the white paper backing and paste your patterned paper onto the sticky plastic.Try to put some force while pasting.
7) Paste your sticker onto the device.. Or anything that you want to decorate! Have fun and be creative!
I don't fancy this sticker..
2) Place the template over the desired area of your scrapbooking paper (or any paper that you fancy) and trace over the shape. Cut the shape out.
3) Laminate the cut paper using cellotape or the self-laminating film. If you're using cellotape like me, cut out a length of cellotape that is more than twice the height of your paper. Paste the paper on one end of the tape, then fold the tape such that it encases the paper inside like so.
4) Trim away the excess cellotape or laminating film.
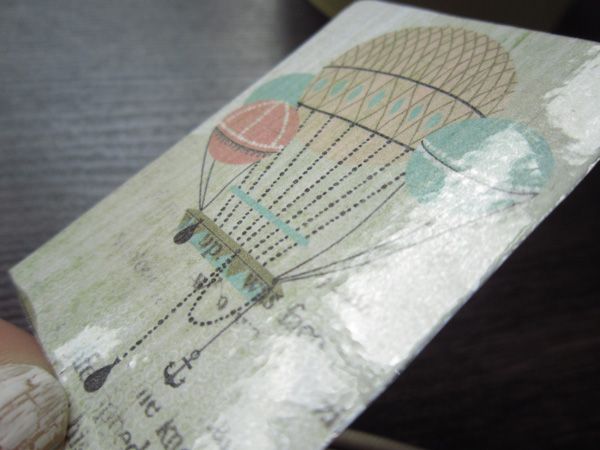
Glossy!
5) Get ready your sticker sheet. If you are using Sticki Sheet from Bostik, cut the sticker sheet to size to minimize wastage.
6) Follow the manufacturer's instructions to make your sticker. For Sticki Sheet users, you simply peel off the white paper backing and paste your patterned paper onto the sticky plastic.Try to put some force while pasting.
7) Paste your sticker onto the device.. Or anything that you want to decorate! Have fun and be creative!





1 comment :
Agree the new token is so big and ugly. Love how you have made it so pretty... :)
Post a Comment