Hi all, so sorry for taking so long to come up with this tutorial. It was cloudy the whole of Monday last week and I couldn't snap any photos properly and of course having a day job on other days means I didn't have the chance to start creating this tutorial until the day before which was my day off again and the sun was smiling and photos turned out fine.
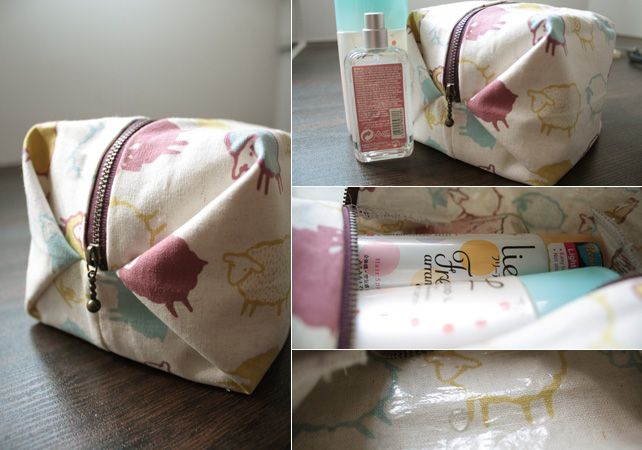
Anyways, let's move on. As you can tell from my post title, this pouch is made from just a piece of fat quarter. And you'll be surprised at how much this pouch can contain despite the "lack of fabric". =P I've opted to iron the water-proof vinyl onto the lining just so the pouch wouldn't look messy on the outside (wet patch anyone?) in case there're spillages in the pouch when things topple within my luggage.
The pouch for this tutorial is a variation of the pouch I made in this post. In that post, I've used an external zipper instead of a normal zipper. I will put up a rough description of how I did the previous pouch at the end of this tutorial (which is in fact simpler than this version).
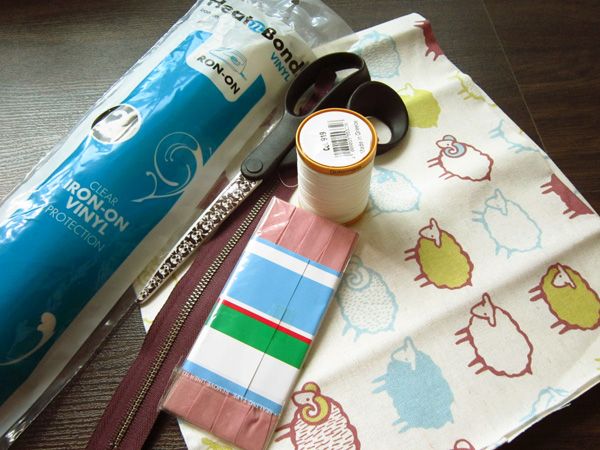
Materials and tools needed:
1) Heavy fabric, fat quarter
2) Heat 'n' Bond Clear Iron-On vinyl, enough to cover 1/2 the size of a fat quarter.
3) Zipper, at least 10 inches long
4) Matching thread
5) Fabric scissors
6) Pins
7) Sewing machine
8) Bias binding if you don't have a serger
9) Iron and ironing board
Directions
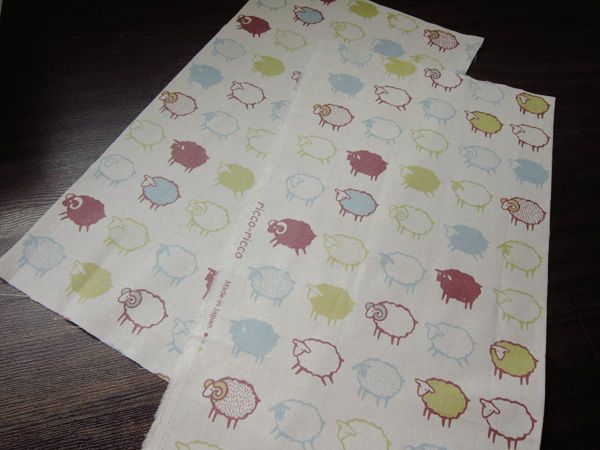
1) Cut your fabric in half. Ensure that the orientation of your fabric is correct. (Prints should run parallel to the shorter edge of the fabric)
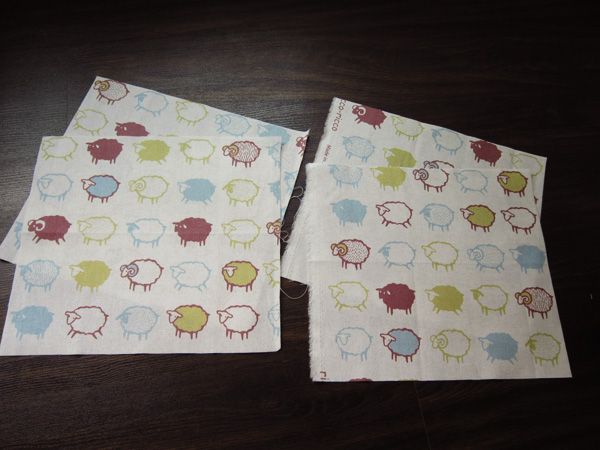
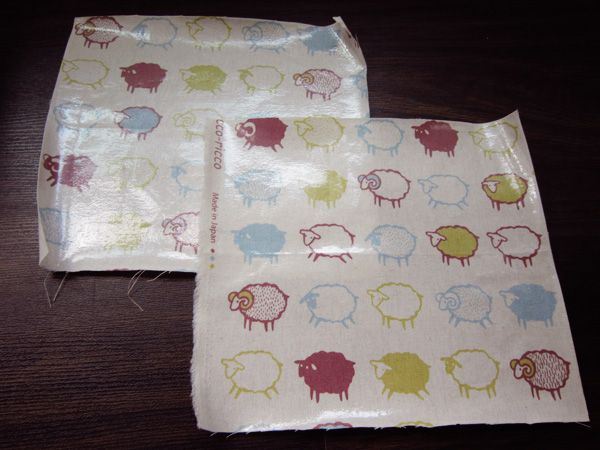
2) Cut each half into half again (refer to photo). For each pair of halves, determine which will be the lining, and which will be the main outer fabric.
3) Cut out 2 pieces of iron-on vinyl that have the same dimension of the lining pieces. Follow the instructions for the iron-on vinyl and cover the lining with the vinyl.
4) Layer 1 lining piece (face up), zipper (face up) and 1 main outer piece (face down) in the following manner, aligning the top and left edges:
(I offset the left edge for the purpose of showing how you should layer the pieces. If your zipper is longer, align the zipper pull end of the closed zipper with the left side. The other end of the zipper will protrude out from the right side.)
5) Pin the 3 pieces together at the top.
6) Sew the 3 pieces together at the pinned edge. I've used a 1/4 inch seam allowance. Turn the pieces right side out.
(I will post another tutorial on how to sew a zipper without a zipper foot for this type of projects)
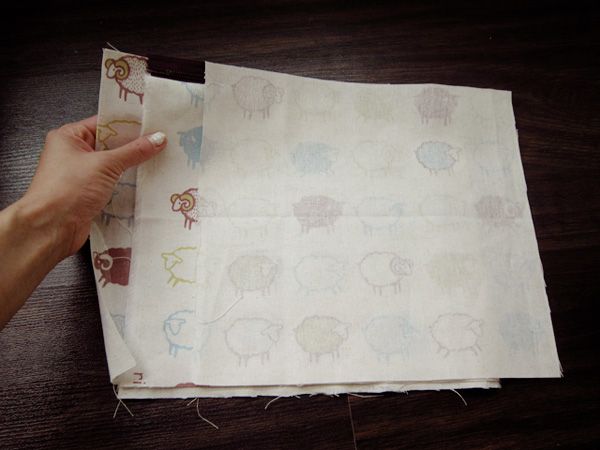
7) Now, we need to sew the other side of the pouch. Layer the 2nd lining piece (facing up), piece from step (6) (right side facing up) and the 2nd outer piece (facing down), ensuring that the top edges and the side edges line up.
8) Pin the pieces together at the top edge, and sew that with a 1/4 inch seam allowance. You will get something like the following upon flipping the sewn piece right side out:
9) Flip the fabric pieces such that the
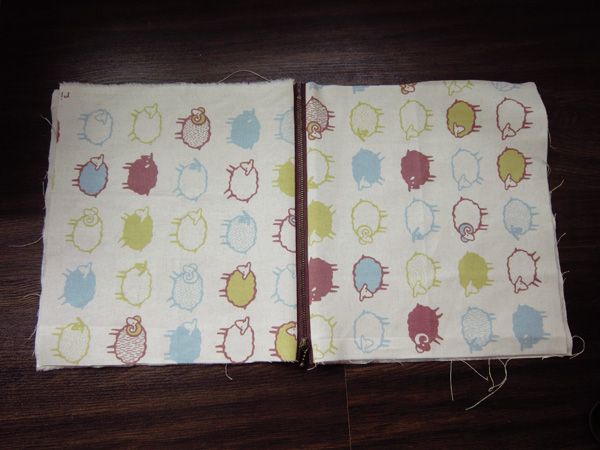
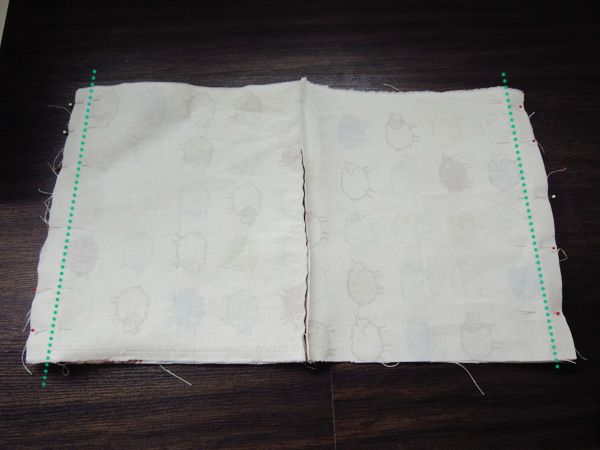
10) Pin the linings together at the longer edge. Do the same for the main outer pieces. (Refer to the dotted lines in the photo below) Sew the pinned edges with a 1/2 inch seam allowance. (These seams will end up as the bottom seams of the pouch)
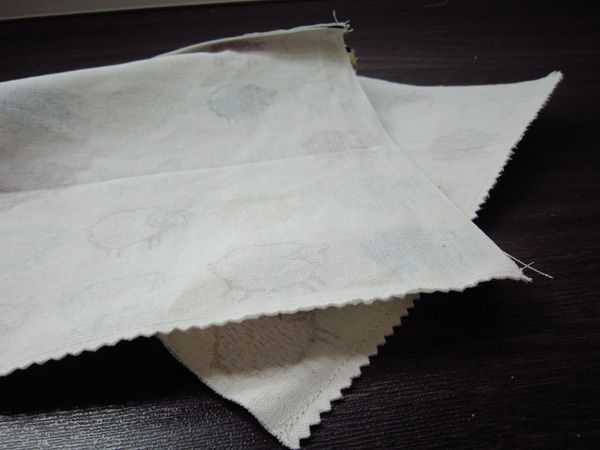
11) Trim the seam allowances down to 1/4 inch. You may use pinking shears to prevent fraying.
12) Flip the piece inside out such that the lining pieces are outside, and the main outer pieces are inside (refer to photo)
13) Line up the bottom seam of the lining pieces and the bottom seam of the main fabric. Pin them in place (make sure to pin from the lining side).
Pardon my dry skin
14) Make sure the zipper is unzipped. Align the zipper with the bottom seam and pin them in place (make sure the lining piece is still on the outside, and the main outer fabric on the inside).
15) This next step might be a bit confusing but hopefully the video clip at the end of this step will clear some doubts.
First, press down/iron the piece so that you get visible creases on the folds that form naturally from the pinnings in step 14.
Orientate the piece such that one side of the unsewn edges is facing you like so.
Unfold one side like so:
Match up the crease (side) with the zipper and the bottom seam like so:
Press firmly on the newly formed folds so that you will have a flat piece that is lying perpendicular to the rest of the pouch.
Fold this flat piece into half like so:
The following video clip shows a live demo of how to do the same for the portion on the other side of the zipper.
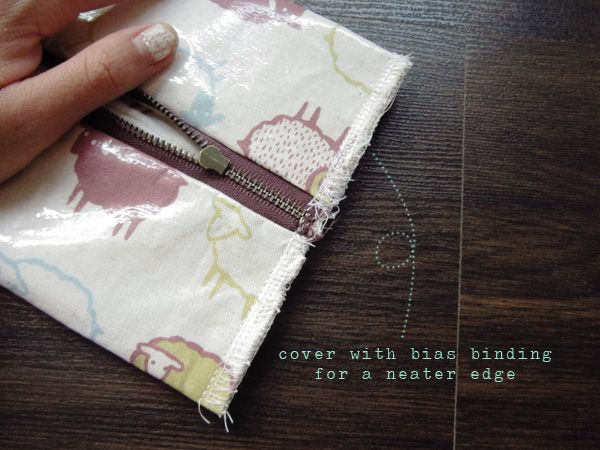
16) Once you have a flattened piece, pin the unsewn edges. If you have a serger, you can serge these edges. If not, sew the edges with a 1/2 inch seam allowance and trim them down 1/4 inch. Hide the raw edges with the bias binding.
You can tell I've trouble with serging through the metal zipper. Should have gone with the sewing machine. =P
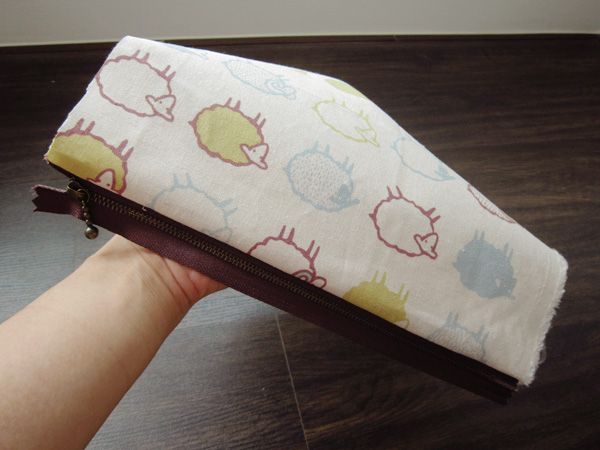
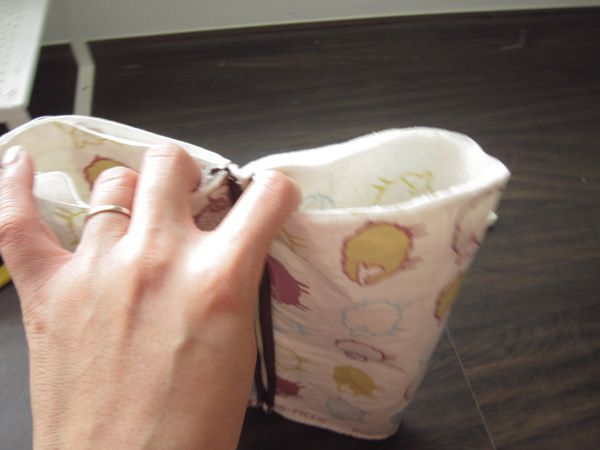
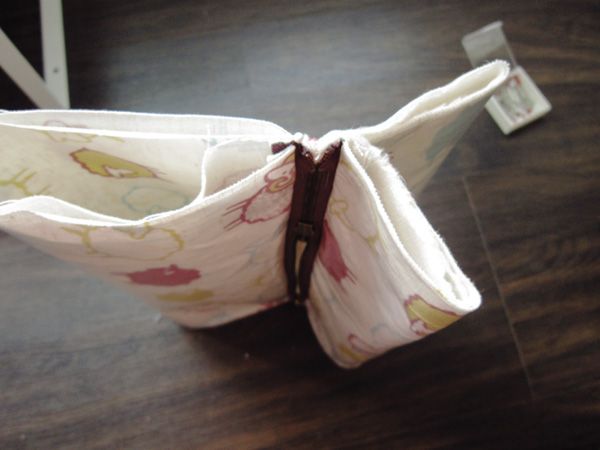
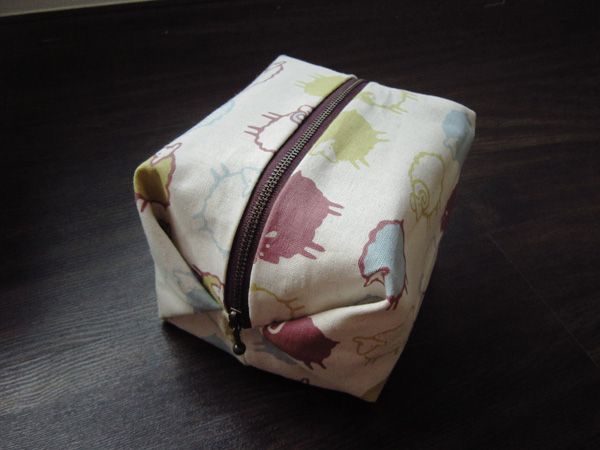
17) Flip the pouch right side out through the zipper opening and adjust the folds until you get a nice squarish pouch.
Variation with an external zipper (works best with a serger)
If you are interested in making a version similar to the one I made for my Russia trip, instead of cutting each half into two as per step 2, fold each half into 2 and press. Unfold. Cut out 2 vinyl pieces, and iron each piece to the top 1/2 of each half like so:
Shiny side is vinyl-covered
The vinyl-covered sides will be the lining while the non-covered sides will be the outer fabric. Fold the halves back into 2 again. Place one of the folded pieces with the outer fabric facing up. Layer the other folded piece, with the lining facing up, on top of the first piece, making sure the folded edges line up. Serge/Sew the edges opposite the folded edges together.
After serging the edges, attach the external zipper to the main outer pieces like so:
If your zipper is longer than the fabric like mine, trim off the excess and secure the ends of with some stitches:
Unzip the zipper if it's not and flip the pouch wrong side out (vinyl-covered lining on the outside) like so:
From here, you can follow step 14 and onwards to finish the pouch.










2 comments :
So adorable!!, thank you for the amazing tutorial!, I didn't even know they had iron-on vinyl, that's awesome!! ^_^
P.S... I'm your newest blog follower, too cute! ^_^
Meli
www.muddyheart.com
Thanks, Meli! I took a look at your site, and wow! You have really pretty porcelain pieces! Love them~~~
Looks like I'll be following your blog too! (^.^)/
Post a Comment