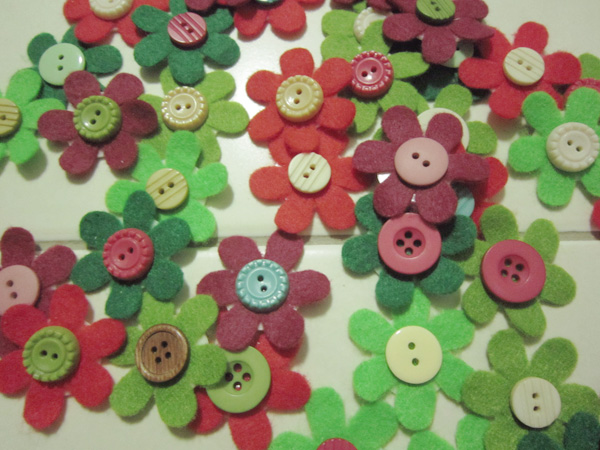
Thanks to Felted Chicken for the silhouette settings!
Stabilizer used: Freezer paper
Speed: 1 to 2
Thickness: 33
Blade: 10
With Cutting mat + double cut
And some advice to read through before cutting..
About the freezer paper
Firstly, why freezer paper? Just because I have lots of it and I have reserved my interfacings/stabilizers for only sewing purposes.
Also, freezer paper acts like a temporary stabilizer and it peels away from the felt pretty easily after cutting, which is good if having a stabilizer permanently stuck to the back of felt piece is not desirable. However, it is exactly this property that might cause your felt to come off the freezer paper while the silhouette is doing its work, thus ruining your cutting.
To reduce the chance of this happening, cut your felt to smaller and manageable pieces, preferably not bigger than 5 inches x 5 inches, and make sure to adhere the freezer paper properly to the felt by pressing your iron a number of times over the same area.
(Felted Chicken used Heat 'n Bond which seemed to do a much better job, but the downside is that it is permanent)
About the felt
I suggest using better quality felt made from wool, as the fibers are more compact and less likely to stretch while being cut. I used acrylic felt which cuts up rather uncleanly and some of the sharp corners are not cut right through. I ended up having to manually clean up the pieces using scissors.
About the shapes to cut out
I would not recommend cutting out very intricate shapes using this freezer paper method, especially with acrylic felt. Also, due to the felt size constraint, this method is best used for small shapes.
About the blade
Please use separate blades for cutting paper and felt/fabric. Also, do clean out your blade often to remove felt lint.
Saturday, December 01, 2012
Subscribe to:
Post Comments
(
Atom
)


No comments :
Post a Comment