Hope the title doesn't sound too "tongue-in-cheek" to the anonymous poster who asked a question regarding one of my O' Crafty Day tutorials on how to cut baking paper for a round baking tin.
In that tutorial, I showed my way of lining the bottom of the baking tin without the need to trace the round shape out. However, I did not touch on how to line the sides of the baking tin. And that's exactly what the anonymous poster wanted to know about.
As I usually just oil the sides of the baking tin and that's pretty much enough to help me get the cake out once it's baked and cooled down, there's not really a need for me to line the sides at all.
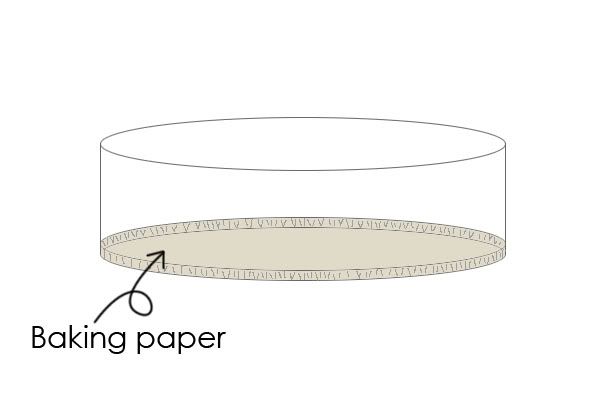
However, if you really prefer to line the whole tin, do not fret! Follow the instructions in my previous tutorial until you reach step 10. Instead of cutting on the folded line, cut about 1cm away from the line so you get a slightly larger round lining. When you put in this bottom lining, you'll have this extra 1cm perimeter which you can press flat against the side of the tin:
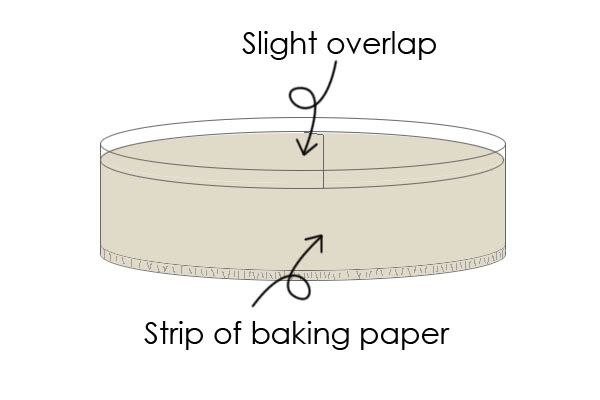
Next, cut a strip of baking paper that is about the same height as the baking tin and long enough to go round the sides of the tin once with a slight overlap. Place this strip along the insides of the tin, overlapping the 1cm perimeter of the bottom round lining and with the ends of the strip overlapping each other a little like so:
The side lining might tend to maneuver around, so try to keep it in place by holding the overlapped ends with your fingers while pouring your cake mixture or dab a little bit of vegetable oil or melted butter/margarine on some areas of the side of the tin so that the baking paper can sort of "adhere" and stay more in place.
And that's it, a fully lined baking tin!
Thursday, December 08, 2011
Subscribe to:
Post Comments
(
Atom
)


No comments :
Post a Comment