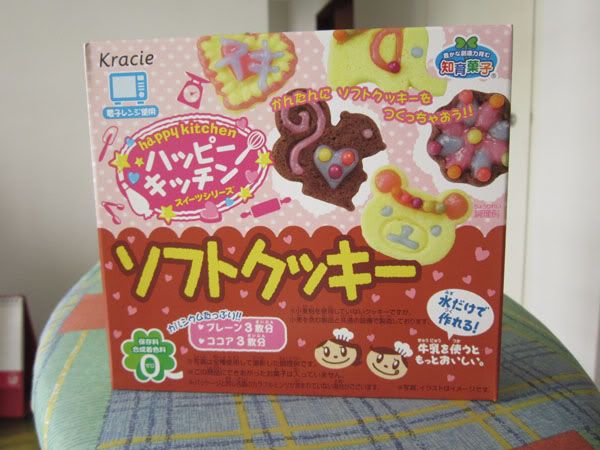
Gomen, gomen. Sorry for taking a little too long in coming up with this tutorial. Anyway, here goes.. This is what you will get after opening the box:
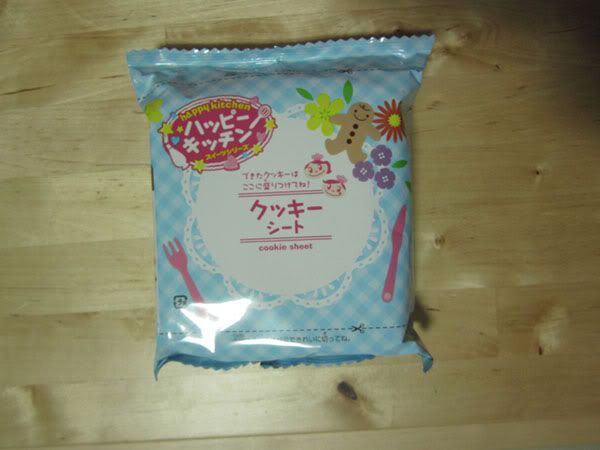
A nicely designed package. =) The bag says "Cookie Sheet" and you can put your finished cookies on the doily plate print. ( Yes, the instructions actually tells you to cut the bag neatly... =P )
You'll find the following contents in the bag:
A plastic tray, 5 packets of ingredients, 1 spatula and 2 mini piping bags.
Split the plastic tray into 3 different portions by cutting along the grooves:
The triangular portion is a mini measuring spoon for your water/milk; the tray with 2 deep containers is for mixing ingredients; the tray with 2 cute designs is the cookie molding.
Lets get familiar with the packets of ingredients:
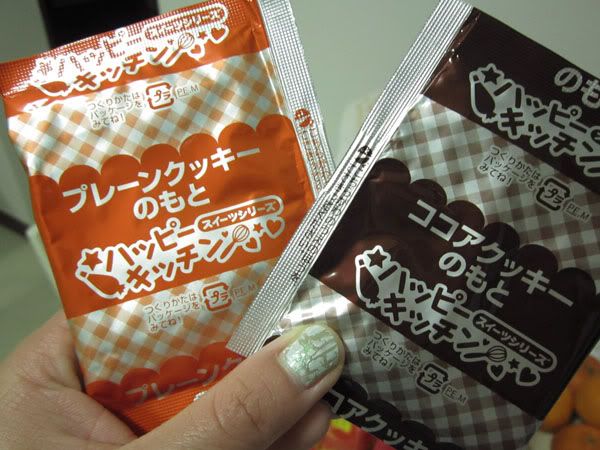
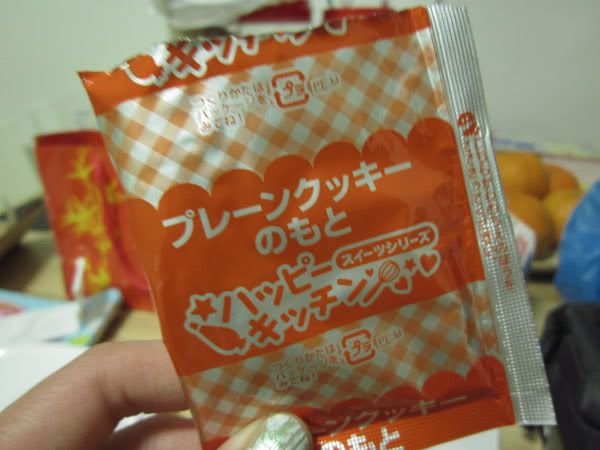
The orange packet on the left contains plain cookie mixture while the chocolate packet on the right contains chocolate cookie mixture.
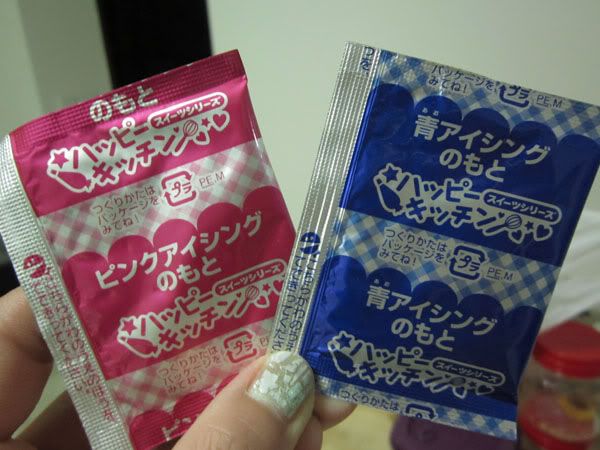
The pink packet on the left contains pink icing powder while the blue packet on the right contains blue icing powder.

Sugar balls decoration! They are yummy. =P
You'll need water to make the cookie dough and icing, so do have that ready. According to the box, if you use milk to make the cookie dough, your cookies will turn out more delicious. And so, I prepared some milk too:
Now, lets prepare the plain cookie dough. Open the orange packet like so:
Using the tray with the 2 deep containers, pour 2/3 of the powder into the bigger container. Then, measure 1 mini cup of milk (or water) and pour that into the bigger container too:
Mix them with the spatula...
Until you have this consistency:
Pour in the rest of the powder from the orange packet and continue mixing:
At this stage, you might find it hard to mix and be tempted to add more water. Please DON'T do that. Just take your time and eventually you'll get a mini cookie dough like this:
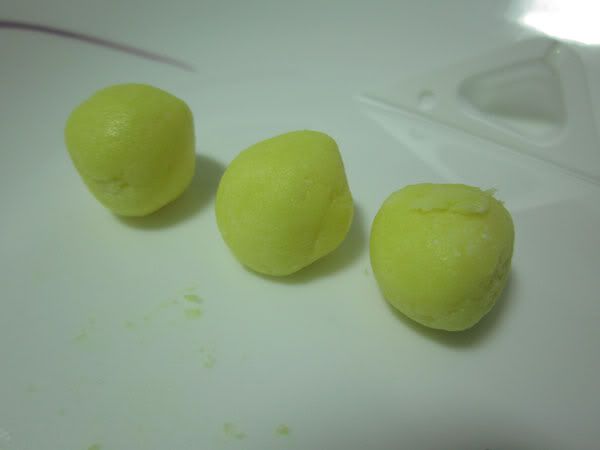
Split the dough into 3 equal portions and roll each of them into a ball:
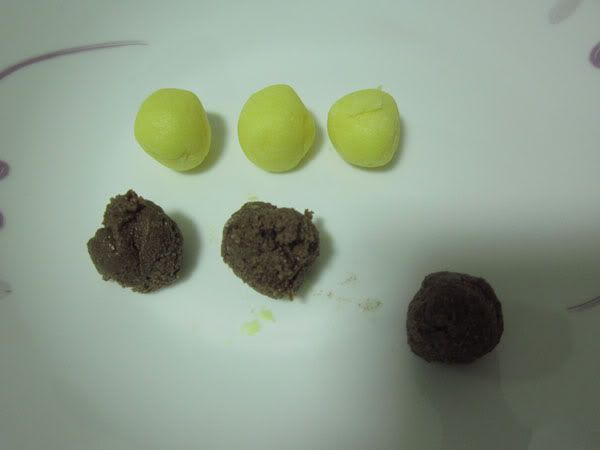
Repeat the steps for the chocolate cookie mixture:
You'll end up with 3 plain cookie dough balls and 3 chocolate dough balls.
Next, take a cookie dough ball and press it down on one of the shapes in the cookie molding. I used the spatula to press it down, but you can use your fingers too:
Repeat with another dough ball on the other shape and you'll get something like so:
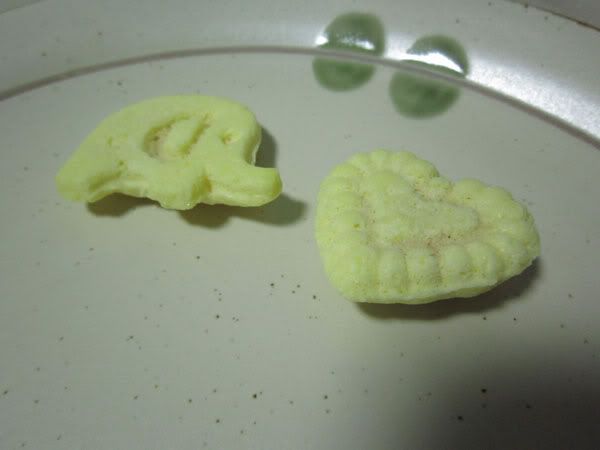
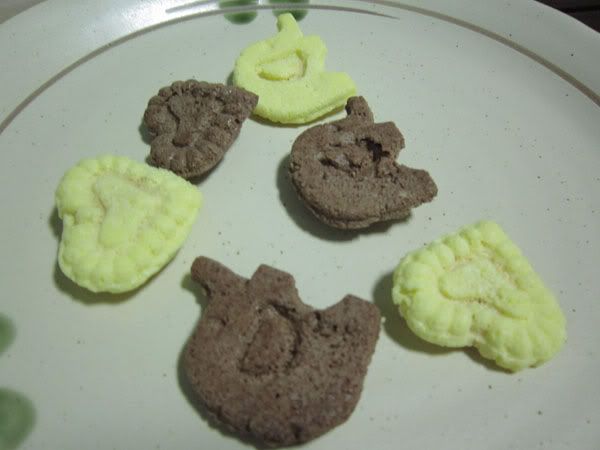
Then, microwave them on "HIGH" for 4 to 5 minutes. Peel the cookies off the tray:
Repeat the same process for the rest of the dough balls and you'll get 6 cookies altogether:
The next part is decorating the cookies. First we need to making the icing cream. Open the pink packet:
Take the tray with the 2 deep containers again and pour the whole content into the smaller container. Measure 2 mini cups of water and pour that into the icing powder. Mix them well:
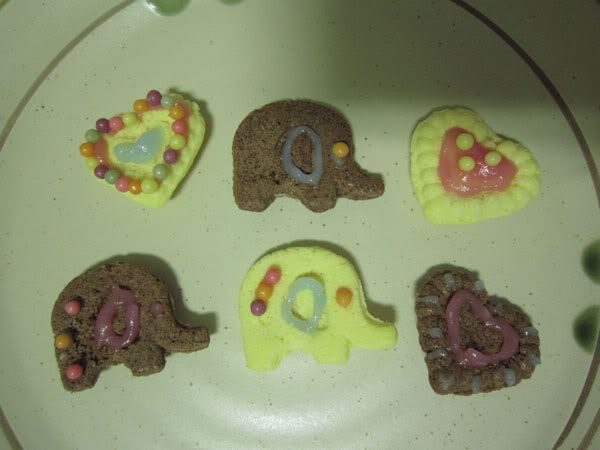
I forgot to take photo of this step but using the spatula, scoop out the cream and put it into 1 of the piping bags. Try to keep the cream in one corner of the bag. Once you have scooped out most of the cream, twist the top of the piping bag such that all of the cream is nicely packed in the corner. Take a scissors and snip a bit of the corner off such that the cream can flow out in a thin line. Start drawing on the cookies with it.
Once you're done, clean the tray and repeat with the blue icing powder. At the same time, decorate the cookies with the sugar balls provided. Have fun!
















No comments :
Post a Comment